TimeKeeper Grandmaster quick start
Quick setup
Connect a GPS antenna to the female SMA GPS (Grandmaster generation 2) or BNC (Grandmaster generation 1) connector on the back of the device (see photos below). The GPS receiver provides 5v DC to the antenna.
Connect a network cable to the first RJ45 ethernet port (eth0 in photos) and navigate with a web browser to 192.168.1.1. You can log in with account “admin” and password “timekeeper” (Note: In earlier shipped Grandmasters the default password was “fsmlabs”) to configure the network ports, TimeKeeper mode and options. Change the admin user’s default password immediately for security, please. If this is an upgrade and you have been using previous versions of the grandmaster GUI interface, it is recommended that you force a full page reload (Ctrl-Shift-R on many browsers). This will make sure your browser loads the latest web interface from the grandmaster and provides all of the latest features.
Default Login Credentials
| Environment | Default Username | Default Password |
|---|---|---|
| TimeKeeper | admin | Version ≥ 8.0.23: “timekeeper” |
| Version ≤ 8.0.22: “fsmlabs” | ||
| IPMI | ADMIN | A unique per-chassis password or “ADMIN”; see below. |
To change network interface addresses navigate to the “Configuration” tab and then “Networking” subtab, select the options you would like then click “Save Network changes” and then “Restart Network” to apply the updates. The changes will take a moment to apply after which you can reconnect to the newly configured address.
By default (and as shipped) the grandmaster does not support SSH access for configuration. That can be enabled through the web interface, however. Please see below for details on enabling additional access methods.
The device will then synchronize with the GPS and once done will answer NTP queries and provide PTPv2 service on the default domain (domain 0) on all network interfaces. The GPS startup process can take up to 15 minutes in some cases. You can monitor progress on initialization via the “Status” tab in the web GUI.
No further configuration of the server should be necessary.

Grandmaster Generation 1

Grandmaster Generation 2

Grandmaster Generation 2 with Additional Network Interfaces
Shipped network configuration
Each network port is configured with a unique static IP address when shipped. eth0 is configured for 192.168.1.1, eth1 for 192.168.2.1 and so on. This includes optional 10G SFP+ ports/25G SFP28 which are eth5 (192.168.6.1) and eth6 (192.168.7.1) and so on.
Please note, the TimeKeeper Grandmaster does not support having multiple network interfaces on the same subnet or multipath routing.
Remote Control and Management (IPMI)
The IPMI functions are provided by the Baseboard Management Controller (BMC) which starts as soon as power is connected to the system. The dedicated IPMI network interface is configured to use DHCP when shipped. The default username is “ADMIN”.
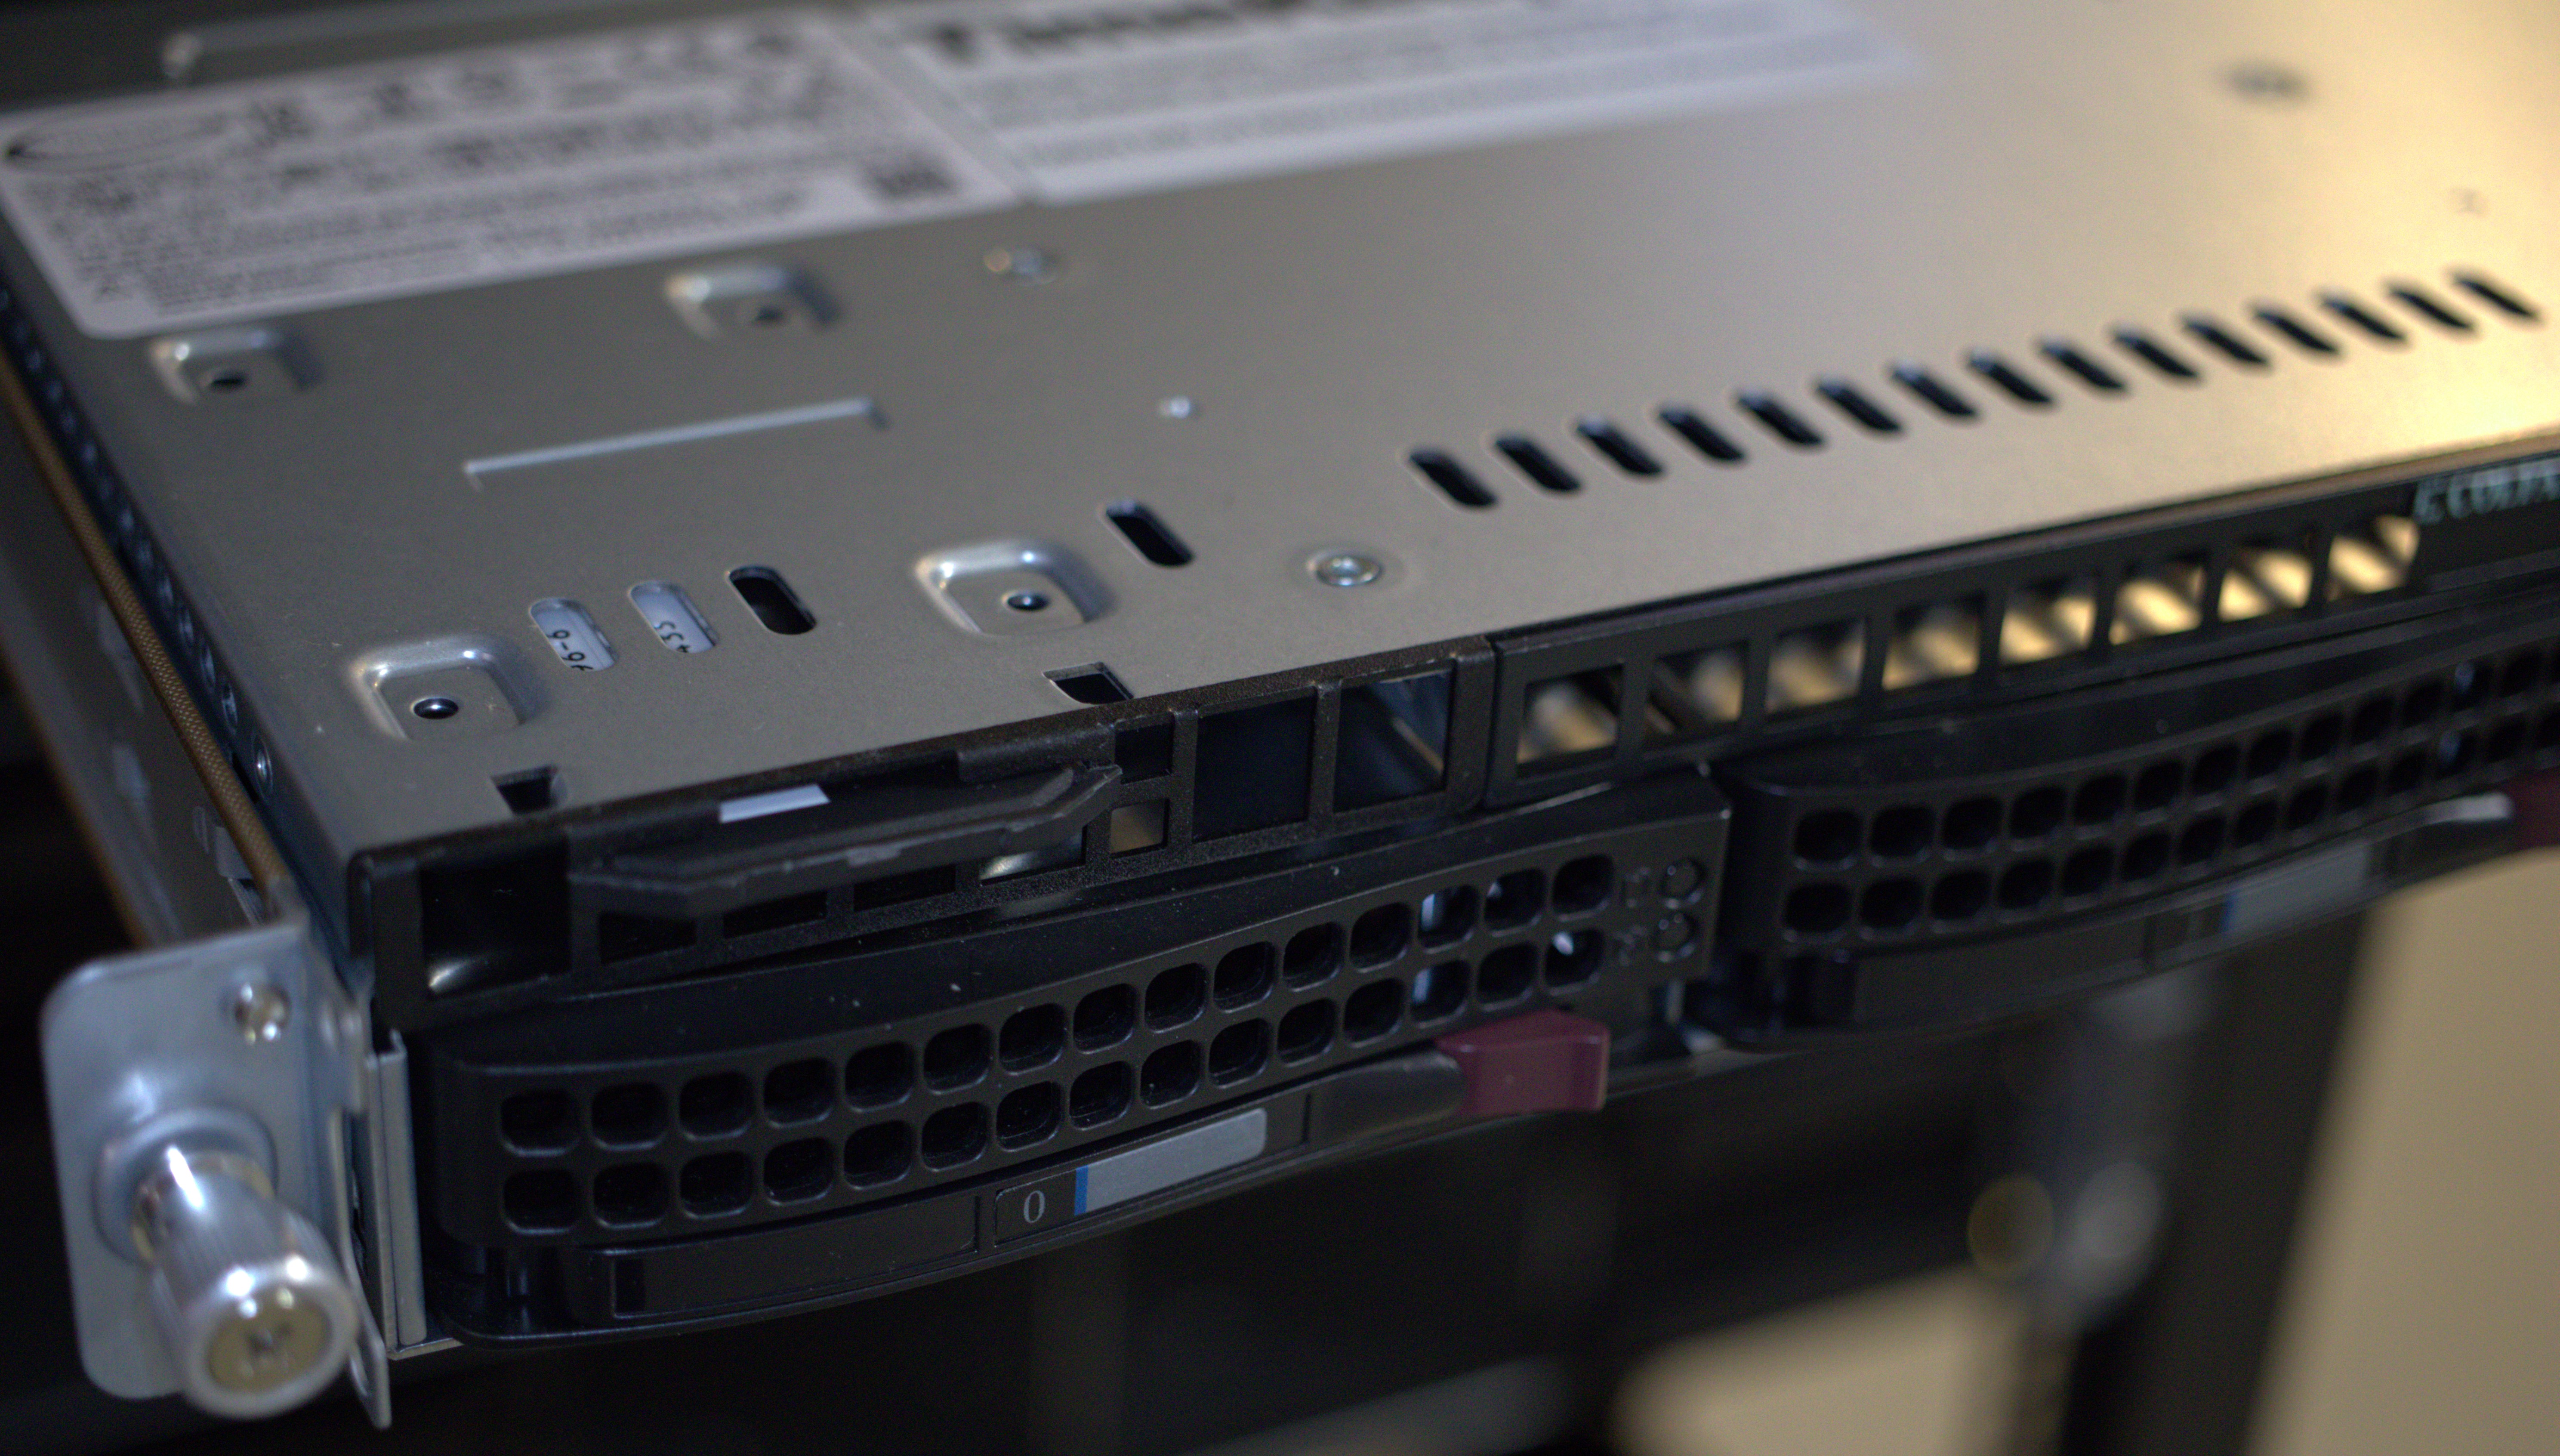
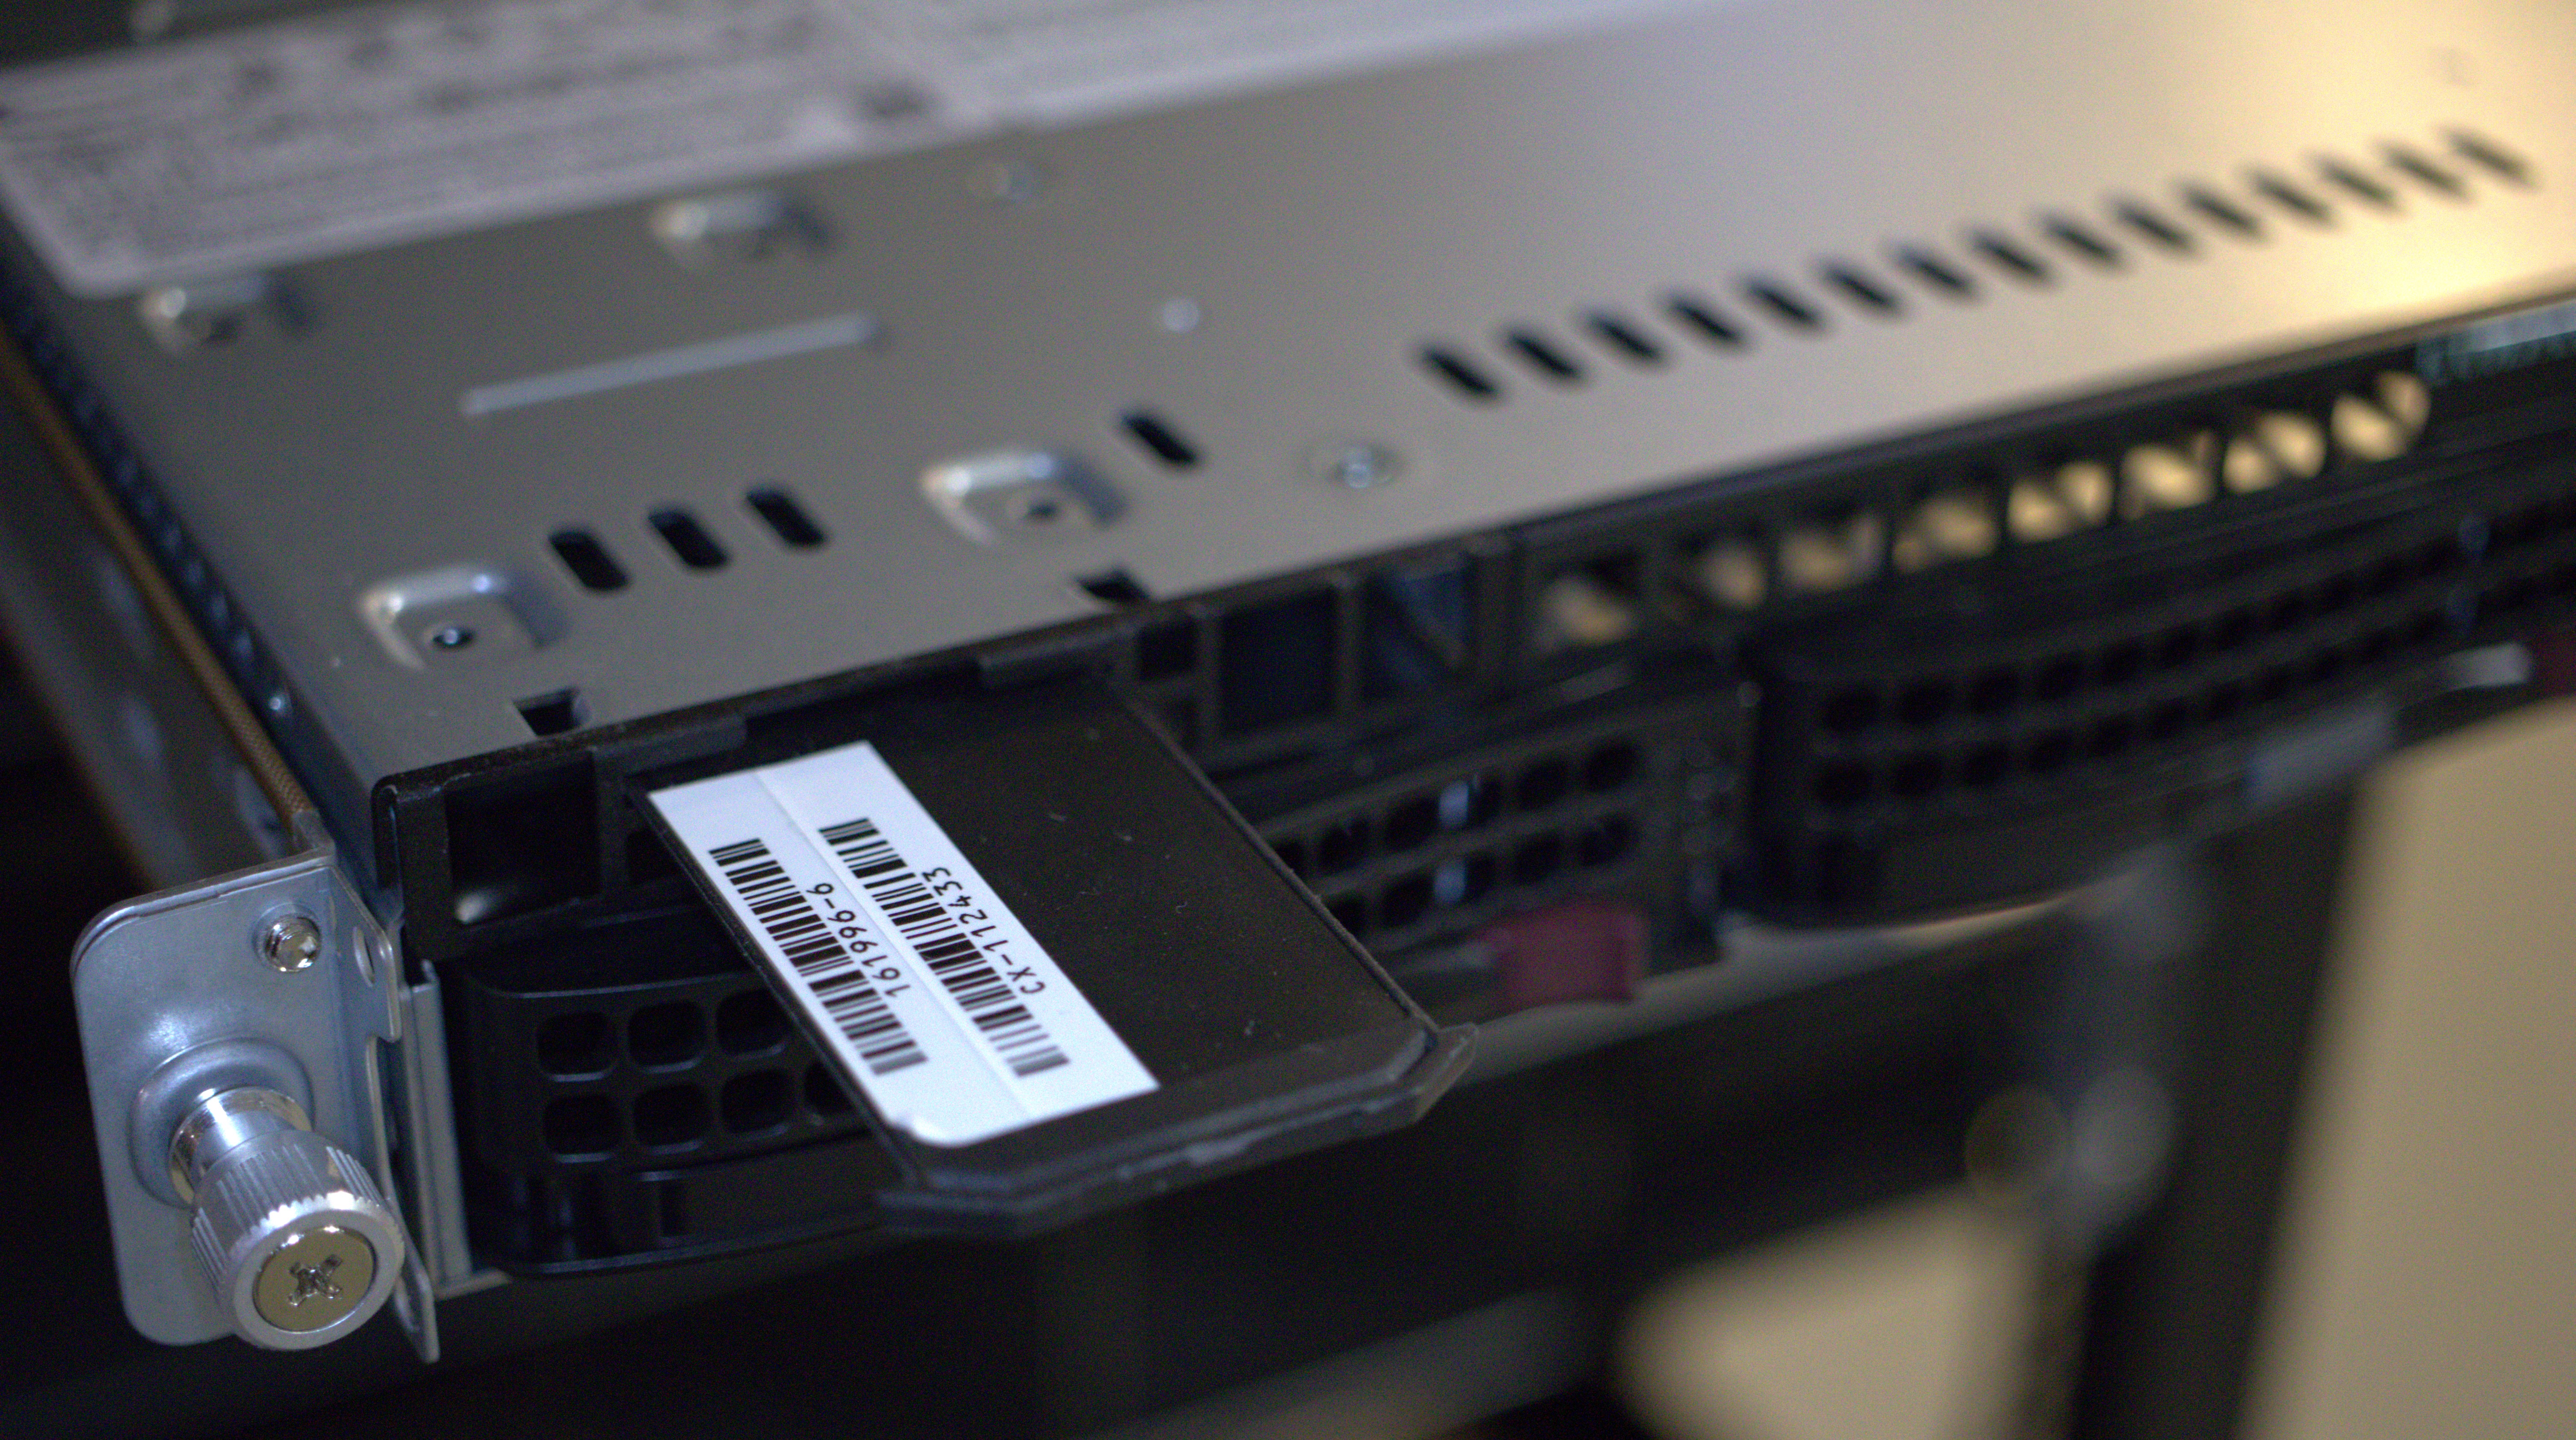
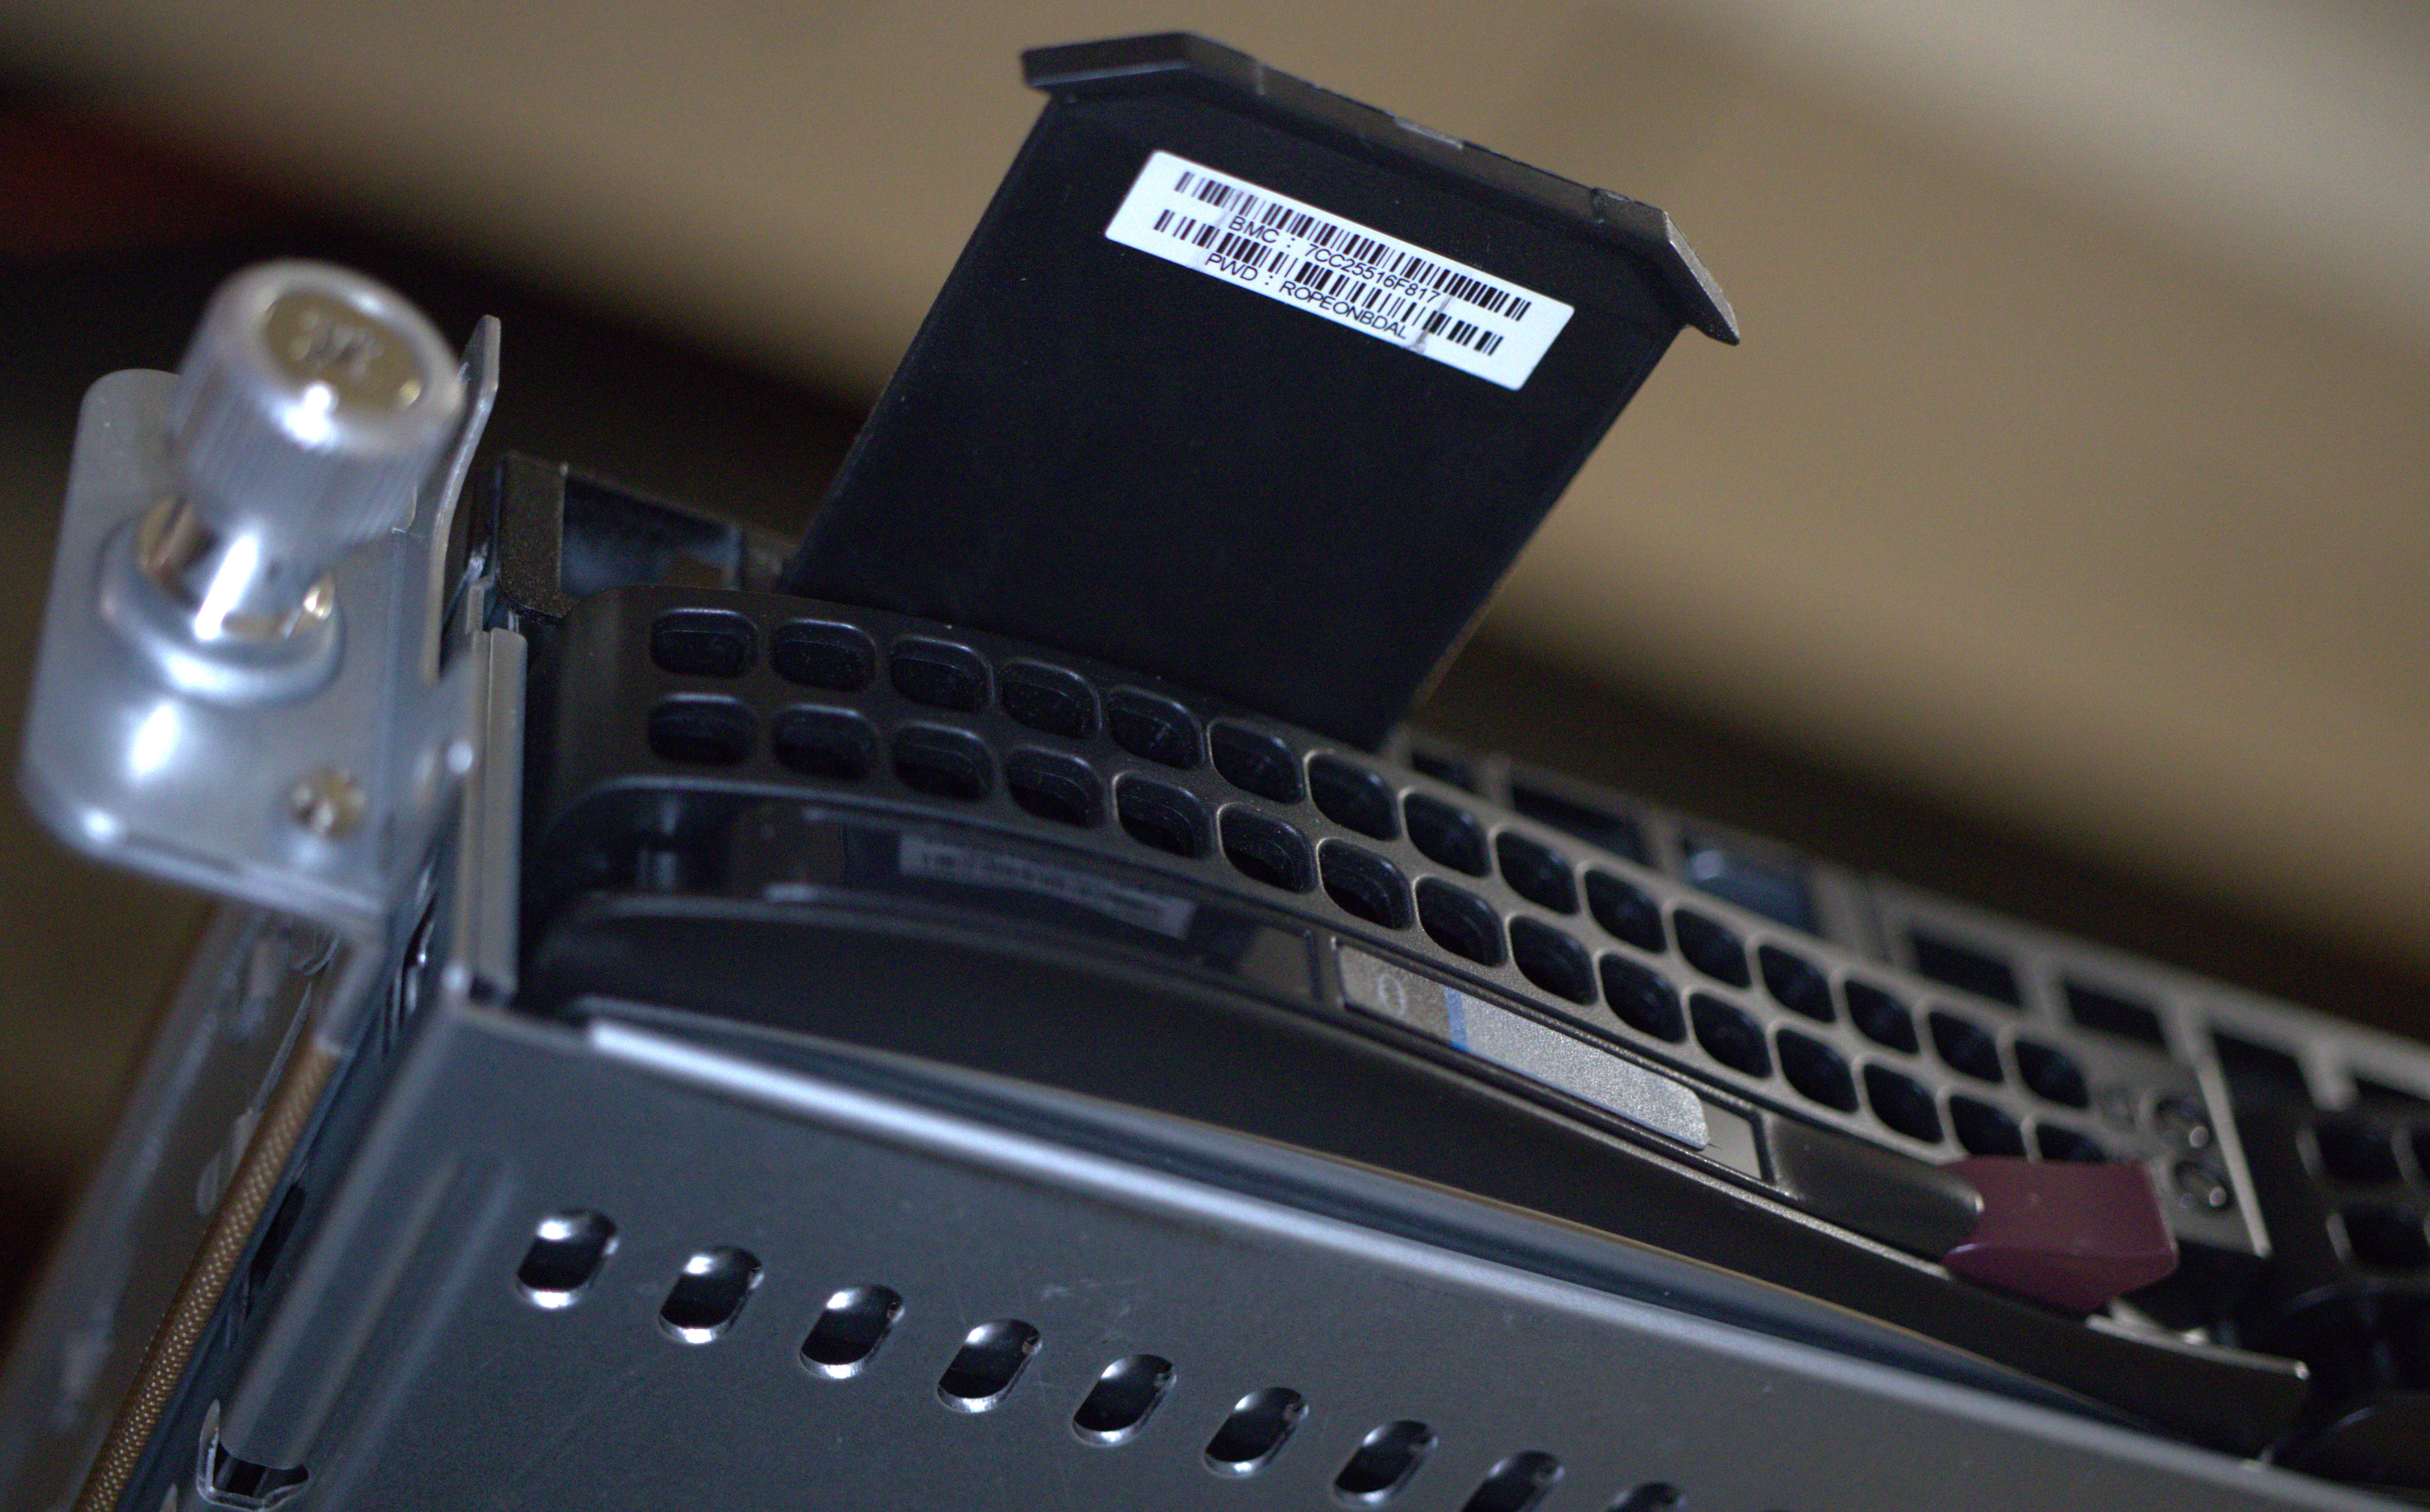
For improved cybersecurity compliance, the default IPMI passwords are now unique for each chassis. On newer Grandmasters built and shipped December 2022 onwards (loaded with Timekeeper 8.0.27 or later) the password is a unique alphanumeric code labeled as ‘PWD: ##########’ found on the bottom (under) side of the physical pull-out Service Tag. The Service Tag is a retractable plastic ‘tongue’ that is located just above the leftmost drive tray when viewing the front panel. Note: ‘D’ and ‘O’ look very simlar due to the small text.


Earlier versions of Grandmasters use the default password “ADMIN”.
Factory reset
The factory settings for network configuration and time service settings can be restored with a “factory reset.” You can perform a factory reset from the web interface, via RS232 console (using 115200 baud, 8n1 or 57600 baud on older models), or through a connected keyboard/monitor. To use the web interface, log in as admin and navigate to Configuration - Service & System Management. Under “Manage System”, click “Factory reset” and then confirm the request.
If you are connecting a laptop directly to the RS232 port, you must use a null-modem cable. Log in with the account “factoryreset” and the password “timekeeper”. Note: In earlier versions of TimeKeeper the password was “fsmlabs”. Once that is done you will be asked to confirm twice that you wish to perform a factory reset, and whether you’d like to shut down the unit when the step is complete. Once that is done the settings will be restored and the system will reboot or shutdown as requested. Once booted the system is back to factory original settings.